Member-only story

How to make 3D GitHub Logo in Photoshop

Thilak
4 min readAug 7, 2021

--

Hello, there dear friends today I’ll be showing you on how to create 3D GitHub Logo using Photoshop.

1. Create a new file.

Go to File>New. Select a new file with a descent resolution.

In this case, I have used 297x210 pixels.

2. Set the background colour.

Set the background colour to #242f36. (Alt + Backspace)

Background colour to #242f36. (Alt + Backspace)

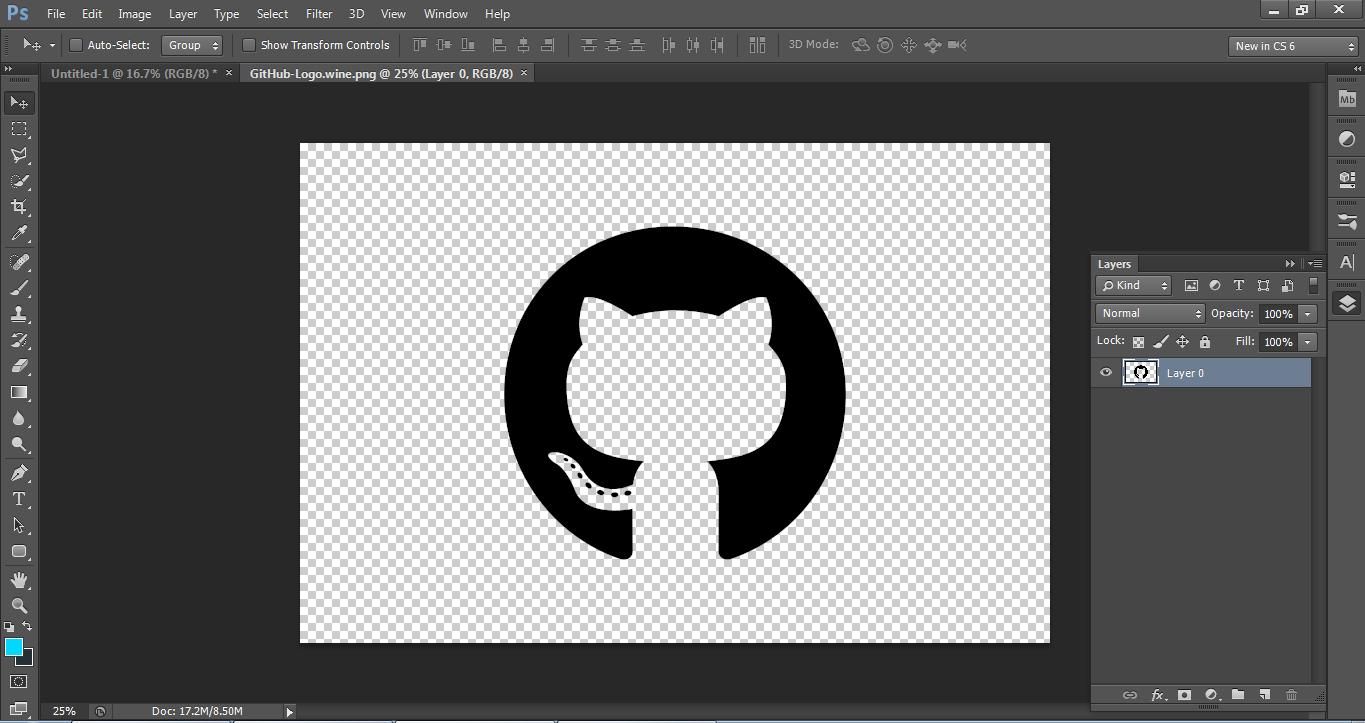
3. Get the GitHub logo.

Download the github’s 2d logo here and open it your photoshop. Fill the logo with white.

Download the github’s 2d logo.
Open the downloaded file in your PS workspace.
Crop-out only the inner shape of the cat from the logo and fill it with white

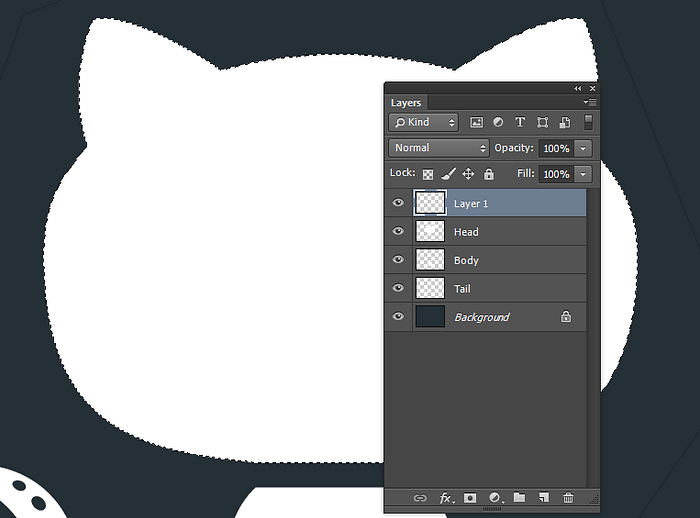
4. Separate the body parts into different layers.

Separate them using Polygonal Lasso Tool into different layers.

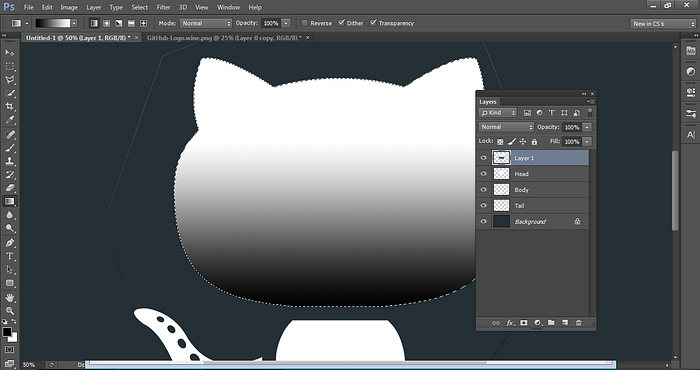
5. Add gradient to the head.

Make a selection of the head layer. (CTRL + Right-click). Keep the new layer (Layer 1) selected.
Pull the gradient from the bottom of the head to center of the head.

6. Add gaussian blur.

Keep the new layer selected.

--

--

No responses yet

Write a response